
Introduction:
Exploring new solutions and platforms is one of the joys of maintaining a home lab. After my experience with Heimdall, while living in Iowa, I decided to venture into a different home lab OS – casaOS. This post details my journey of setting up casaOS in a Proxmox container and the network challenges I encountered along the way.
The Perks of Proxmox’s Container Templates Over Traditional VMs:
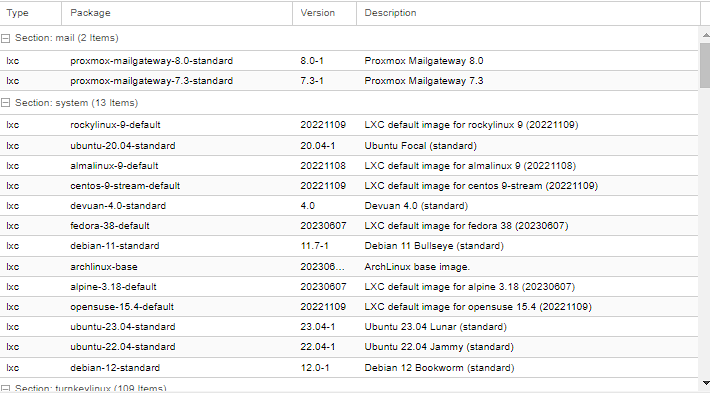
When diving into casaOS, one might think of running it directly on a virtual machine. But here’s the twist: casaOS requires a Linux environment, like Debian, to function. This could mean setting up a full-blown VM, installing Linux, and then casaOS on top of it. But I took a different route, a more efficient one: Proxmox’s container templates. Here’s why this approach was a win:
- Speed: Launching a container from a Proxmox template is considerably faster than setting up a new VM, installing an OS like Debian, and then casaOS. With the container template, I had a Debian environment ready in minutes, allowing me to swiftly move on to the casaOS setup.
- Resource Efficiency: Containers share the host system’s OS kernel. This means they don’t carry the overhead of a full OS like VMs do. My casaOS ran smoothly, without hogging resources.
- Simplicity: Containers come with fewer moving parts. There’s no need to manage a whole virtual hardware stack. For me, this translated to a more straightforward setup and fewer potential points of failure.
- Space Conservation: A full VM setup would involve storage for the VM’s OS and then casaOS. By using a container, I sidestepped the need for redundant OS storage, saving valuable disk space.
- Scalability: If I ever wish to run multiple instances of casaOS for experimentation, Proxmox templates will be a godsend. I can deploy numerous containers quickly and consistently without the overhead of multiple VMs.
Using Proxmox’s container templates to run casaOS on a Linux environment streamlined the entire process.
The Network Hiccup:
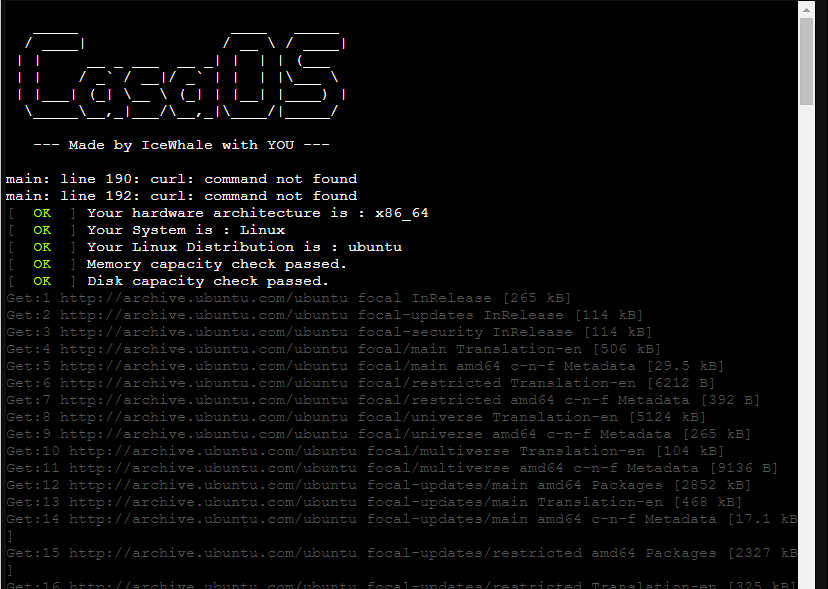
Upon successfully setting up the casaOS container in Proxmox, I hit my first roadblock. The casaOS interface wasn’t immediately accessible via any IP address, which puzzled me. Typically, when deploying new containers or virtual machines, they automatically fetch an IP address from the DHCP server. However, this wasn’t the case with casaOS.
Detective Work in the Router:
To unravel this mystery, I dived into my router’s settings. By examining the device table, I pinpointed the casaOS machine. It was a eureka moment, but it also opened my eyes to another issue: my network was cluttered.
Seeing multiple devices, some of which were no longer in use or necessary, I realized it was time for some network spring cleaning. After tidying up and removing unwanted devices, my network felt leaner and more efficient.
Connecting with casaOS:
With a cleaner network, I zoned in on the casaOS IP and got through to the GUI. Set up my account, and voila, ready to roll with the new setup.

Conclusion:
This casaOS setup journey wasn’t just about trying out a new system. It was a nudge, reminding me to occasionally tidy up my digital space. Now, with casaOS on board, I’m keen to see where this ride takes me.